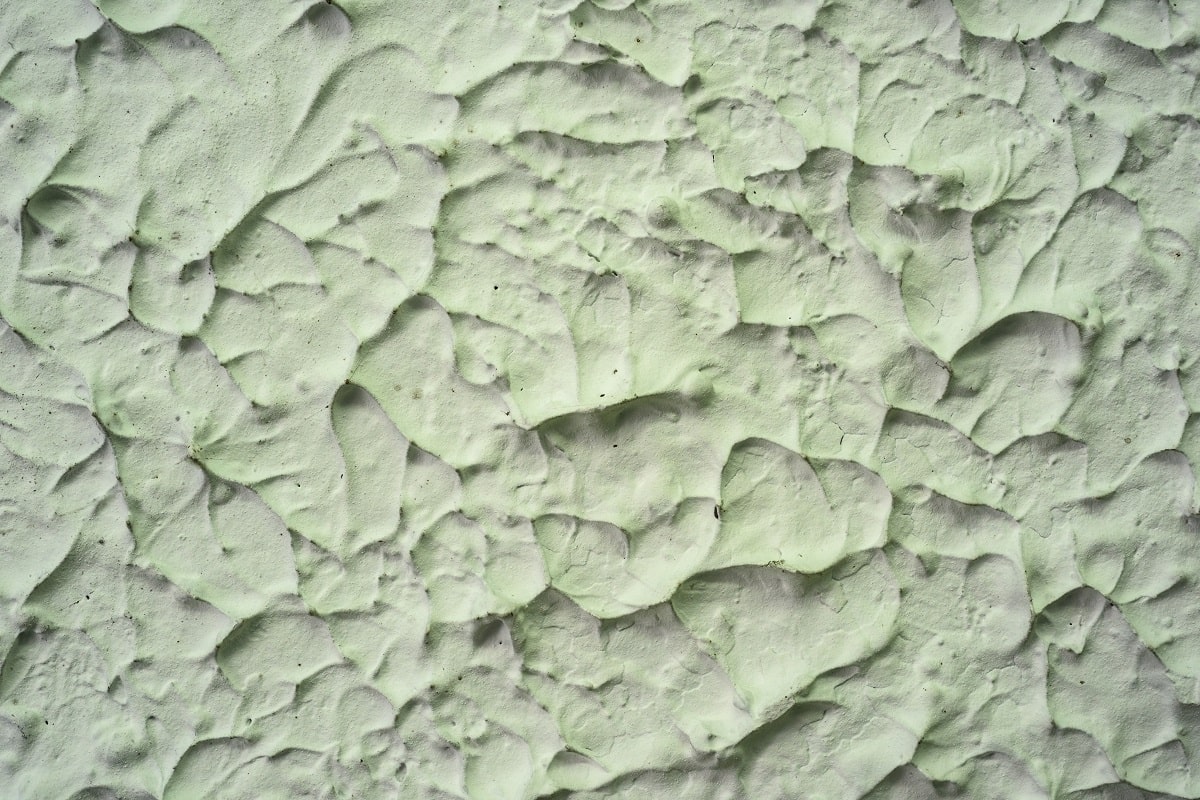
Whether you’re a fan of the style or not, popcorn ceilings (or vermiculite ceilings) were once one of the most popular additions to newly built or decorated homes in the 1960s and 70s. Mainly used in hallways and bedrooms throughout the 1960s and 70s, this textured effect was made possible by spraying or applying paint to the ceilings in a particular manner.
However, due to the asbestos used within this finish, this texture is long out of style.
Suppose you find yourself in need of a popcorn/vermiculite ceiling removal or are noticing cracks or damage to your existing finish. In that case, you’ll need to call in a professional right away who can guide you through the process. Below, we’ve broken down the process into steps, offering up our design tips for retexturing once the ceiling has been removed.
Sample collection for asbestos testing
After contacting a professional for the safe and effective removal of your textured ceiling, their first point of action will be to conduct an asbestos testing. Here are some of the steps they will follow –
- They may ask you to turn off any air conditioners or fans to limit the spread of the fibres to other rooms. They may even section off a particular ceiling area to further prevent the fibres from spreading.
- Next, they’ll scrape off a sample of your roof; it will be about a teaspoon-sized amount of textured ceiling surface, along with an adequate depth of the material down to the sheetrock.
- Lastly, they’ll safely seal off the sample ready for testing!
Room preparation
Depending on the results of your asbestos test, you may be given the go-ahead to proceed with removing the popcorn/vermiculite ceiling without any hazards. If asbestos is found; for your safety and the safety of other occupants, it’s best to leave this step up to the professionals.
If you’re given the all-clear, you’ll want to start by removing all the furniture and appliances in the room to prepare for scraping and sanding. Next, cover all irremovable items like wall cabinets, light fixtures and piping with thick plastic drop sheets. You’ll also want to cover the walls and floors to prevent any damage during the wetting process. Use heavy-duty painting tape to cover any remaining light switches as well as the corners and edges of any door frames and windows.
Lastly, don’t forget to use the circuit breaker to cut off power to all the electrical elements and cover all the electrical outlets on the walls with extra plastic. This additional coverage will help to prevent trapped dust from causing a short circuit once the power is restored.
Important note:
If the popcorn/vermiculite ceiling was installed before 1980, get the ceiling tested for asbestos. In any case, if you’re not sure when the ceiling was installed, it is still better to contact a professional to confirm. Always remember to leave the removal and disposal of asbestos to certified painters in Sydney.
Make sure that you are using a face mask that is HEPA or otherwise at a proficient level to protect against the substance you are using. Unless you are fully trained in handling and disposal of the material, do not try to remove an asbestos ceiling. If you are not– hiring a professional is undoubtedly the best way to save time and hassle.
Besides, even though the process is pretty straightforward, it’s also a very tedious job.
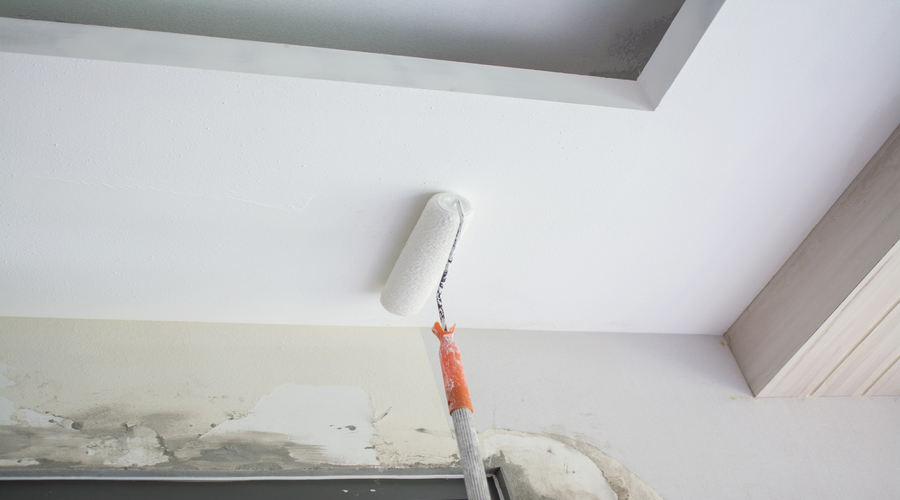
Ceiling spraying and scraping
Spraying:
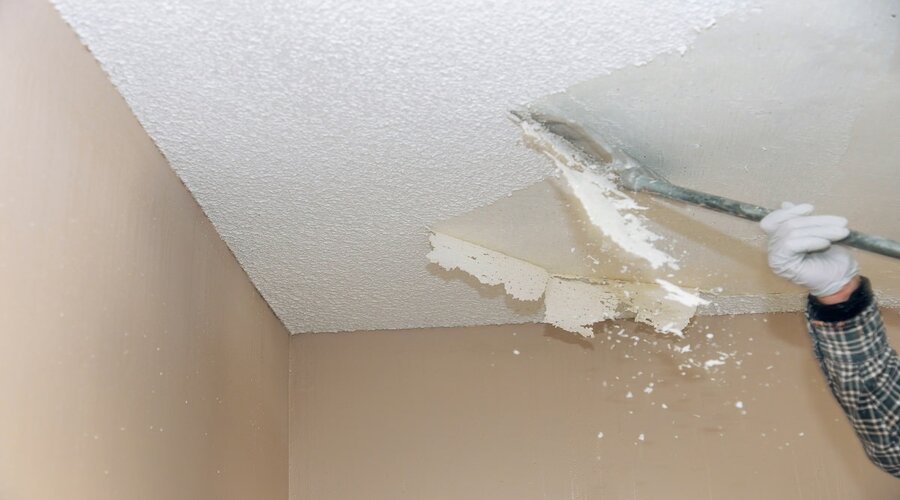
To easily remove the texture, you’ll need to soften the area by spraying warm water to break down the adhesive bonds in the finish. We’d recommend using a spray bottle and tackling the surface one area at a time. Once the area has been sprayed, let the water soak for approximately 15 minutes and repeat the process until the finish scraps off.
Caution: Be careful not to over-wet your finish, as the water can seep through and potentially damage the underlying drywall surface.
If spraying doesn’t help soften the texture, consider hiring an expert house painter in Sydney to help “dry scrape” the ceiling.
Scraping:
Once the popcorn/vermiculite ceiling texture is softened, start the scraping! Use a large, wide blade that can remove the texture all at once. Make long, steady motions to remove the textured effect without damaging the drywall. To scrape off the textures from ceiling corners and hard-to-get beam edges, make careful use of a small putty knife.
If the texture doesn’t come off with ease, consider waiting for 10-15 minutes and resuming the process around the entire room.
Process wrap-up with sanding & refinishing
Once all the popcorn/vermiculite texture is off of the ceiling, you’ll need to smooth and repair the surface to apply a new finish.
Repairing:
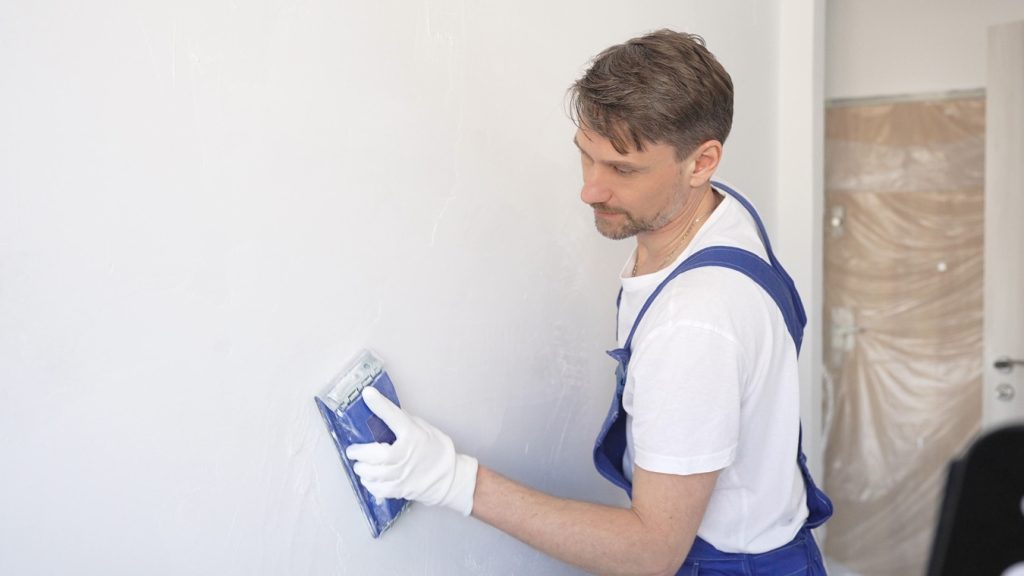
After the scraping is complete, repair any holes in the drywall using a joint compound. Once you affix the joint compound, let it dry for 24 hours before starting the sanding process.
Sanding:
Start the sanding process by using fine-grit sanding paper on a sanding pole—sand horizontally from one end of the room to another. Swirling your pole or using too much pressure can result in damage to the ceiling’s surface.
Refinishing:
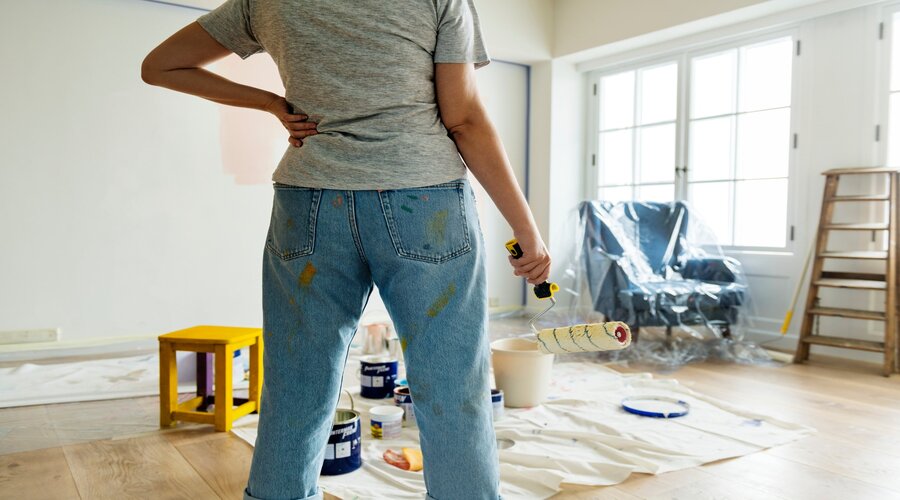
Once you’re done with all the repair work and sanding, it’s time to move on to priming and painting!
Removing the popcorn/vermiculite ceiling is a long process that can be hazardous if you fail to take the proper precautions. In that case, getting in touch with a professional painting company is a great place to start. They will be able to offer expert advice as well as provide trusted professionals when it comes to asbestos removal.
All our painters are qualified tradesmen, so for any renovation job, get in touch with the team at Priority One Coatings. While more specialised work is required, we’d be happy to recommend one of our trusted trade associates to assist.
With more than 32 years of professional painting experience, Priority One Coatings‘s house painters are just a call away for further expert advice and consultation. Contact us to discuss your needs or to arrange a quote today!

Frequently Asked Questions
What is a popcorn or vermiculite ceiling?
A popcorn ceiling — also known as a vermiculite or acoustic ceiling — is a textured ceiling finish that was applied by spraying or rolling a thick, bumpy coating onto the surface. It was extremely popular in Australian and American homes built or renovated during the 1960s and 70s, commonly used in hallways, bedrooms, and living areas. The texture was valued for its ability to hide imperfections and dampen sound, but it has long fallen out of favour — largely due to the discovery that many popcorn ceiling products from this era contained asbestos.
Do popcorn ceilings contain asbestos?
Many popcorn ceilings installed before 1980 do contain asbestos fibres, which were commonly added to the texture compound to improve durability and fire resistance. If your home was built or renovated before 1980, or if you are unsure when your ceiling was installed, it should be treated as potentially containing asbestos until tested by a qualified professional. Do not attempt to scrape, sand, or disturb the ceiling surface before testing — asbestos fibres released into the air are a serious health hazard when inhaled.
How do I know if my popcorn ceiling contains asbestos?
The only reliable way to confirm whether your popcorn ceiling contains asbestos is through professional testing. A qualified inspector will carefully collect a small sample — approximately a teaspoon of material scraped down to the drywall — under controlled conditions with air conditioning and fans turned off to prevent fibre spread. The sample is then sealed and sent to a laboratory for analysis. Do not attempt to collect a sample yourself unless you are trained and equipped to handle potentially hazardous materials.
Can I remove a popcorn ceiling myself?
If your ceiling has been professionally tested and confirmed to be asbestos-free, a DIY removal is possible but requires careful preparation. You will need to clear and cover the entire room, protect all electrical outlets and switches, wear a HEPA-rated face mask, and follow the correct wetting, scraping, sanding, and refinishing process methodically. However, if asbestos is detected — or if you are unsure — you must engage a licensed professional. The removal and disposal of asbestos-containing materials is a regulated activity in NSW and must only be performed by certified tradespeople.
What is the process for removing a popcorn ceiling?
Once the ceiling has been tested and cleared, the removal process involves several stages. The room must be fully prepared — furniture removed or protected, floors and walls covered, power isolated, and electrical outlets sealed with plastic. The textured surface is then softened by spraying warm water across small sections at a time and allowing it to soak for around 15 minutes before scraping. A wide-bladed scraper is used for open areas, and a smaller putty knife for corners and edges. Once all texture is removed, any damage to the drywall is repaired with joint compound, allowed to dry for 24 hours, sanded smooth with fine-grit sandpaper, and then primed and repainted.
How long does it take to remove a popcorn ceiling?
The timeline depends on the size of the room and the condition of the ceiling. For a standard bedroom or living room, the active scraping process itself may take a day. However, the full process — including room preparation, wetting, scraping, drywall repairs, drying time (at least 24 hours), sanding, priming, and repainting — typically spans two to four days. If asbestos is present and professional remediation is required, additional time will be needed for containment, removal, and clearance testing before any finishing work can begin.
What do I do after the popcorn ceiling is removed?
After scraping is complete, inspect the ceiling carefully for any gouges, holes, or damaged drywall and fill these with a joint compound. Allow it to cure for a full 24 hours. Sand the entire ceiling surface horizontally using fine-grit sandpaper on a sanding pole — avoid swirling motions or excessive pressure, which can damage the surface. Once smooth, apply a quality primer to seal the surface before painting with a ceiling-specific paint. Many homeowners also take this opportunity to apply a smooth, fresh finish or a subtle texture to give the ceiling a modern, updated appearance.
What precautions should I take during popcorn ceiling removal?
Always wear a HEPA-rated or equivalent face mask during the scraping and sanding stages. Ensure the room is thoroughly sealed — cover floors, walls, cabinetry, light fittings, and all electrical outlets with heavy-duty plastic drop sheets and painting tape. Turn off the power to the room at the circuit breaker and keep the air conditioning and fans switched off to prevent dust and particles from spreading through the home. If asbestos is present or suspected, stop immediately and contact a licensed professional — no personal protective equipment substitutes for proper certified handling of asbestos-containing materials.
Is it better to remove a popcorn ceiling or paint over it?
Painting over a popcorn ceiling is possible and is sometimes chosen as a lower-cost, lower-disruption alternative to full removal. However, painting does not eliminate the underlying texture, can cause the bumps to soften and sag if too much moisture is applied, and does nothing to address the asbestos risk if the material contains it. Full removal gives you a smooth, modern ceiling surface that is far easier to maintain, repaint, and light effectively. For most Sydney homeowners undertaking a renovation, complete removal and refinishing delivers significantly better long-term results.
Why should I hire a professional painter for popcorn ceiling removal in Sydney?
Popcorn ceiling removal is one of the more demanding and hazardous home renovation tasks — particularly in older Sydney homes where asbestos is a real possibility. A professional painter or tradesperson brings the right equipment, safety certifications, and experience to manage the process safely from start to finish. They can also repair and refinish the ceiling to a professional standard once the texture is removed, saving you considerable time and reducing the risk of damage to the underlying drywall. Priority One Coatings has over 32 years of experience working on Sydney residential properties — for advice, referrals to certified asbestos professionals, or to arrange a quote for ceiling repainting and refinishing, contact our Sydney painters team today.