Discovering stains on the walls of your house is always an unpleasant experience. It gets even worse when you find out it’s not just a regular mark; it’s a result of the hidden fungus named mould. The presence of this fungus is not only a threat to the appearance of the surface but can also lead to respiratory diseases and other health concerns. So, it is always wise to get rid of it as soon as possible.
Mould appears on the damp areas of your house, especially in the walls and ceilings of kitchens or bathrooms, areas behind the furniture, wooden surfaces, or any area with excessive moisture. However, it is always wise to find out what is causing these spots rather than painting over it. But did you know that by following some specific tactics, you can tackle the mildew problem with paint? Yes, you read it right.
But, we’re not suggesting to hide the problem with a coat of paint.
In fact, in this article, we will discuss the effective process that will make painting over any fungus a successful initiative. Before that, let’s learn the causes of mould and why simply painting over it is not suggested.
What are the reasons behind mould?

We often observe greenish-black or white spots of mould on our kitchen walls and bathroom ceilings and wonder what actually causes this. Generally, the main reason is a high level of humidity in the indoors. When the rooms are poorly ventilated, moisture gets trapped and creates an atmosphere that promotes mould growth.
Another severe reason could be water leaks, whether from roofs, plumbing, or windows. A small leak can provide a direct source of moisture that helps in regrowth of mould. In this case, there is no other way than fixing the leaks to avoid further damage.
Can we paint directly over mould?
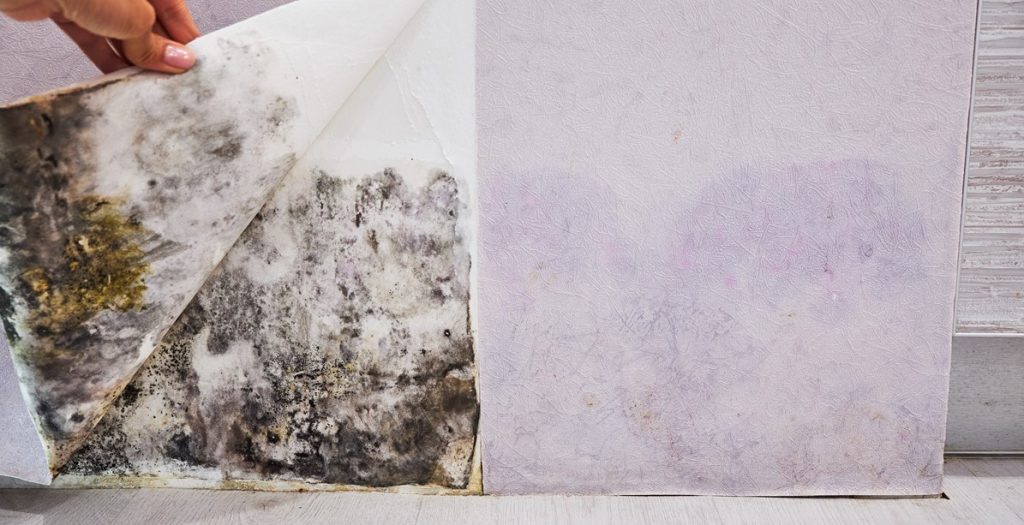
This is where most of us make the mistake of trying to simply put a layer of paint over the fungus. As it appears to be a quick fix, the most common practice is hiding it with paint. When we paint directly on these specific bases, the paint, first of all, doesn’t sit well. Sometimes, the dark-coloured marks peak through the fresh paint, which makes it look messier. Most importantly, the mildew will sooner or later return if just covered by a layer of paint.
So, does that mean we can’t paint over mould? The answer is yes, you can, but you need to follow a few techniques and fixes to make the painting project successful. As a house owner in Sydney, if you find mildew on your walls and consult a professional house painter, they will never suggest painting on top of the affected area. In fact, they will make the base suitable for painting and use specific products that will make the job more practical.
How do you successfully paint a mould affected wall?
If you are tired of finding unrealistic ways to get rid of mould, and it keeps coming back after every paint job, then you are at the right place. We have prepared a three-step guide to help you in this fungi-killing journey and achieve a seamless paint finish.
Step one- Treatment for the mould
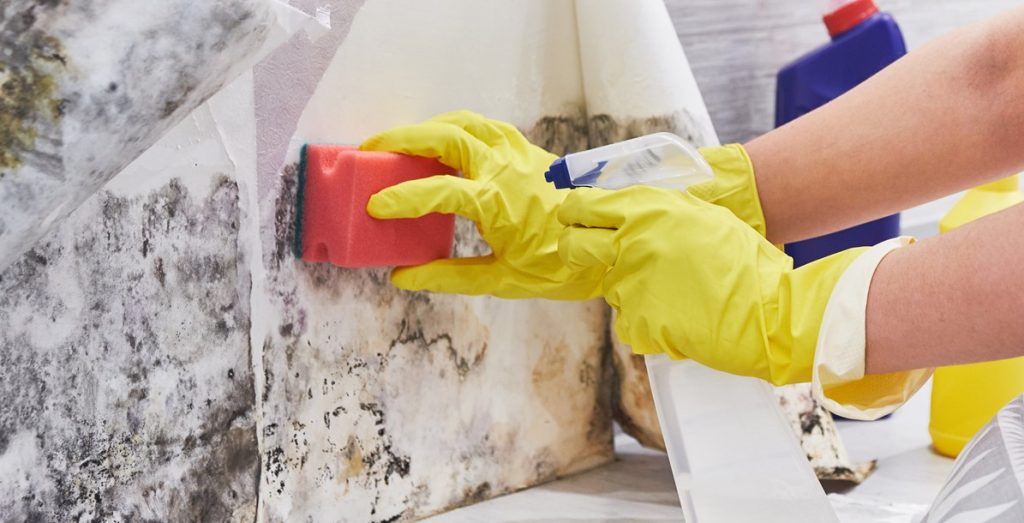
While painting the affected area, the first phase should involve giving proper treatment to the existing mildew. A correct solution can remove the appearance of fungus. Well, it can be treated in two ways-
- The first way is using available mould killer solutions in the market. These products contain fungicides that can actively remove any fungus. You can find these in the name of mould & mildew cleaners, removers or mould killers. Look for reviews to find the best solution available in the market, or ask the experts.
- Another effective method is to make your own mixture by using some simple ingredients. Mix two portions of bleach with ten portions of water and put it into a spray bottle. After spraying the mixture on the marks, wipe it with a kitchen towel. You can also use a stiff brush to clean the area after spraying.
No matter which mixture you are using, don’t forget to use a mask and gloves to protect yourself, as these harsh chemicals are not suitable for you. Once you are done applying the mould killer and wiping it off, it is better to clean the wall with clean water for better results.
Step two- Surface preparation
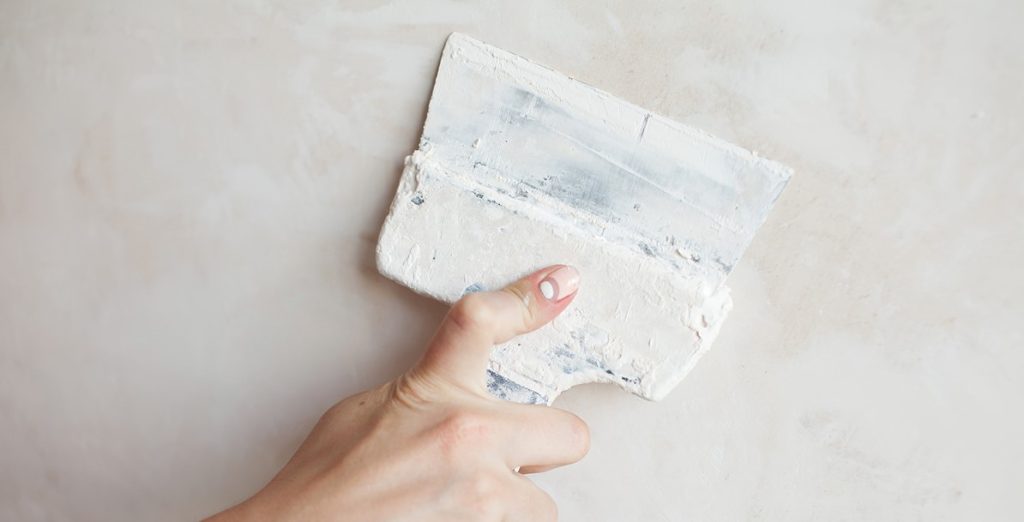
After you are done treating the mildew, we can focus on one of the major tasks, which is preparing the surface. In this step, you can create a flawless base that will ensure a good finish for the paint. Start preparing the wall or ceiling once it’s dry after cleaning.
At first, scrape off any loose material from the area. It can be dry flakes from previous paint or residues after using the mould cleaner. Remove these by using a scraper or even a stiff brush. This step will make sure to give you a smoother base.
After that, seal the area if there are chances of mould regrowth. You can find damp sealers in the market that are specially created to seal patches of penetrating dampness. The sealing process can stop the dampness coming into the interior walls and ceilings and stop these from showing up.
Lastly comes the most crucial job, which is using the right primer for priming the surface. It is always ideal to use mould-blocking primer for maximum protection. These primers are usually water-based, dry quickly and give a fungicidal protective coating that can kill any kind of fungi and bacteria.
Step three- Final coat of paint
After the primer is dried and ready for application, the walls can be painted. Using mould-resistant paint is an effective solution. If you are getting residential painting services from a painting company, make sure to talk about your preference regarding mould-resistant paint. Try applying a thick layer to hide the marks and spots.
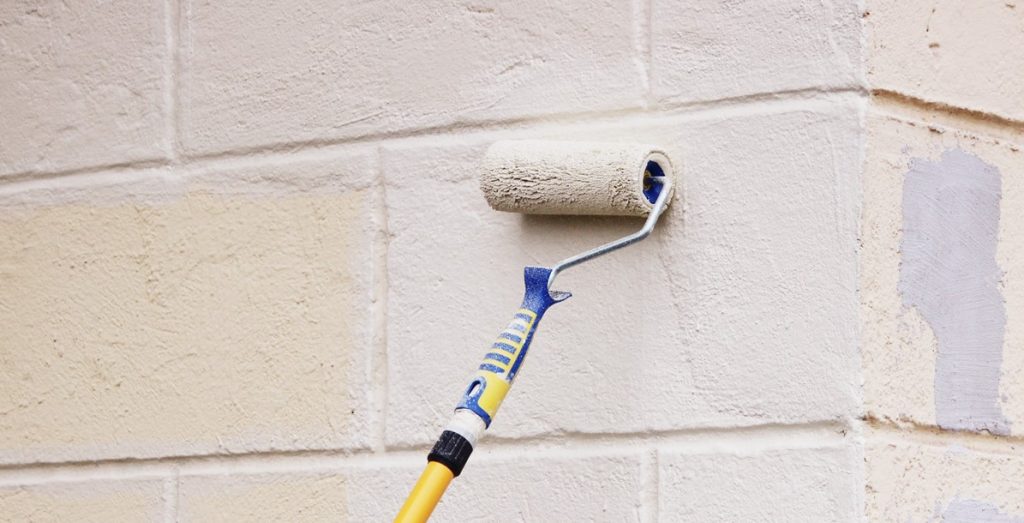
After the paint is dry, an oil-based paint layer can be applied. It will work as a shield and create a water-resistant coating that will give additional protection from future dampness and mould attacks. Then, you can finish the painting process with a topcoat that is usually made from emulsion. It is best to use a roller for topcoat for an even finish.
Getting help from the experts
Usually, mould or any kind of fungi attack makes the surface quite sensitive to deal with, and achieving the best result by doing it yourself is a pretty challenging task. To avoid all the hassles of finding the proper technique and product, it would be better if you sought help from the professional residential painters of Sydney.
When you choose a well experienced painting company in Sydney, they will thoroughly check the condition of the targeted space, prepare the surface with the right products and provide the smooth painting finish that you want. So, to get spotless walls and ceilings, contact your house painters for a trouble-free experience.
Conclusion
In conclusion, tackling mildew issues in your kitchen, bathroom, or any area is a task that goes beyond just aesthetics; it’s about creating a healthier environment in your living space. The unsightly fungi stains and potential health hazards surely create the urge to remove them as soon as possible, but the journey of painting over complex surfaces requires careful consideration and thorough execution.