Looking to give your outdoor space an upgrade?
Painting the concrete retaining wall is a great way to add some colour and style to the residence. Whether you’re looking to freshen up an old retaining wall or simply want to add some visual interest to increase the property value, painting a concrete retaining wall is a simple yet effective solution. With the right tools and techniques, you can transform the outdoor area into an inviting space that you’ll love spending time in.
In this article, we’ll take you through the steps of painting a concrete retaining wall, from cleaning and prepping the surface to selecting the right paint and applying it correctly. So, let’s dive into all the details of how a concrete retaining wall is painted to give your space a new dimension. Before that, for many of you who don’t know what a concrete retaining wall is, let’s know about that first.
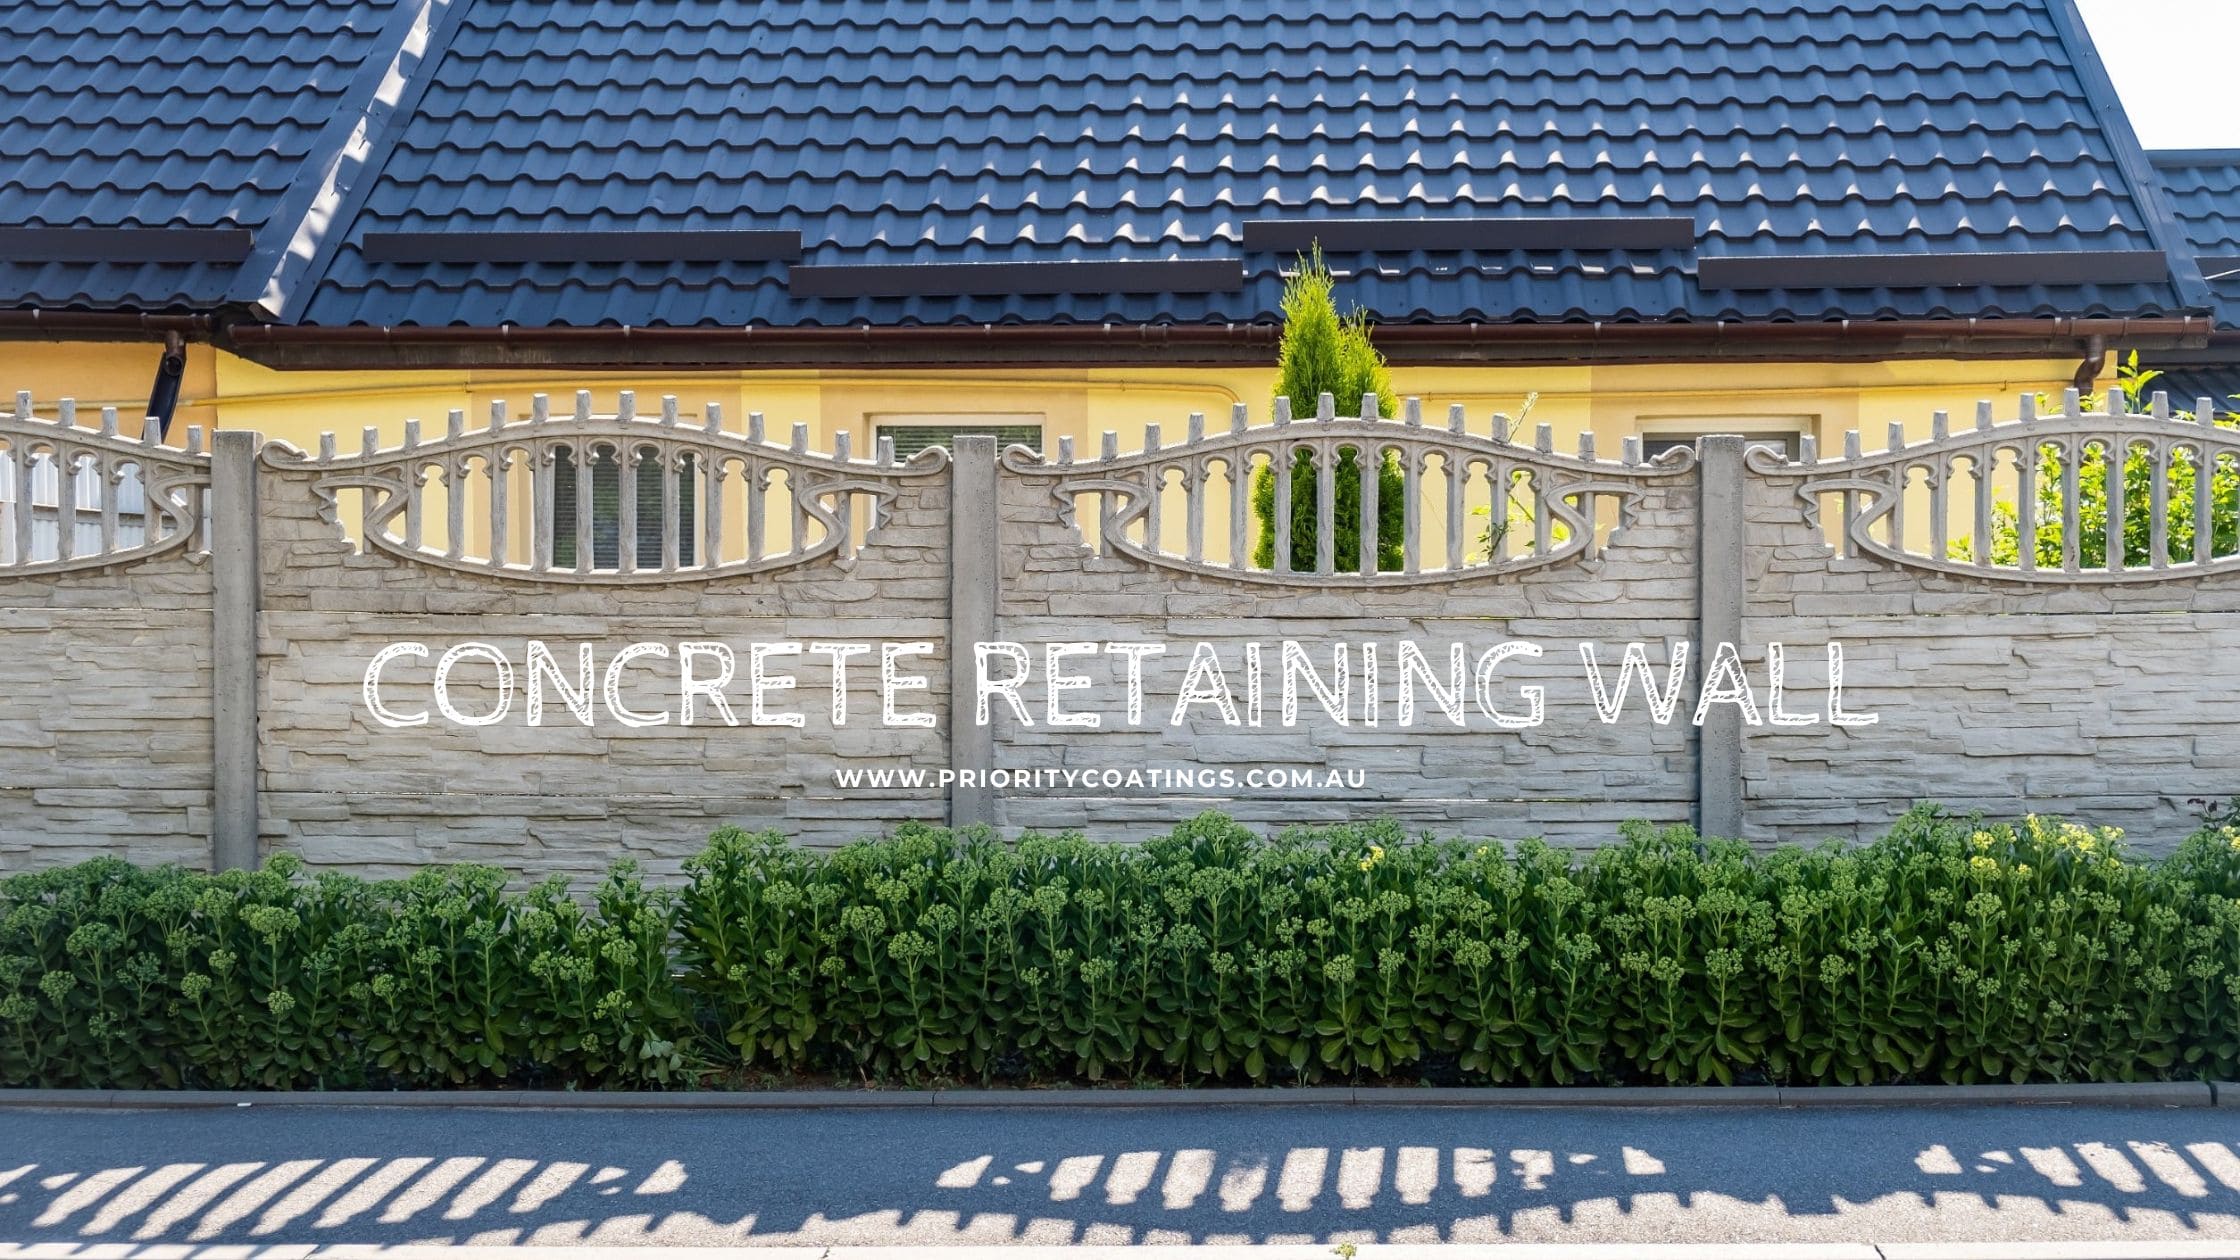
Concrete Retaining Wall- What is it?

In a nutshell, a concrete retaining wall is a structure that’s designed to hold back soil or other materials on one side while creating a level surface on the other side. In the houses of Sydney, these walls are commonly used in landscaping and construction projects where there’s a need to create flat surfaces on sloped terrain or to prevent erosion and landslides.
These walls are made up of individual concrete blocks or panels that are stacked on top of each other with interlocking mechanisms. They can be designed in a variety of shapes and sizes, depending on the specific needs of the project, and can be reinforced with steel or other materials for added strength and durability. Gravity, Cantilever, Counterfort, and Sheet Pile are some of the popular types of retaining walls.
This practical and aesthetically pleasing addition itself needs some maintenance, and painting it can be an excellent way here. With the help of professional residential painters in Sydney, you can paint the concrete retaining wall without worrying about anything. Still, we are explaining here the step-by-step procedure inspired by the expert Sydney house painters for you to have a better idea of the whole process.
Painting a Concrete Retaining Wall – A Step-by-Step Process
Here are the steps that need to be followed to paint a concrete retaining wall:
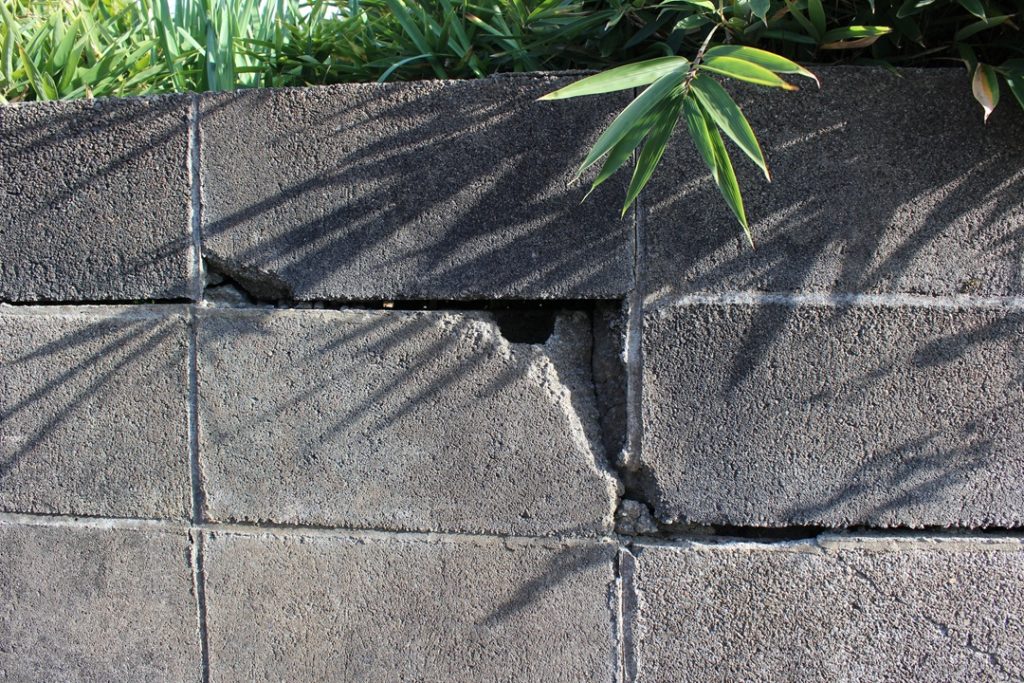
1. Repair any damage:
Once you’ve decided to paint your concrete retaining wall, it’s time to inspect it for any cracks, chips, or other damage. Even small imperfections can affect the quality of the finished paint job, so it’s important to repair any damage before you begin painting.To repair small cracks or chips in your concrete wall, you can use a concrete patching compound. Simply apply the patching compound to the damaged area, using a putty knife or trowel to smooth it out. Be sure to follow the instructions on the packaging, as drying times and application techniques may vary. For larger cracks or holes, to avoid a mess, it’s better to seek help from a renowned painting company available near your house in Sydney.
2. Collect your tools:
Painting a concrete retaining wall can be a challenging task, and it’s important to make sure you have the right tools before starting the job. To ensure a successful painting project, you’ll need paint brushes and rollers, cleaning tools, concrete primer, concrete paint, concrete sealer, and possibly a paint sprayer. It’s important to choose high-quality tools and materials that are specifically designed for use on masonry and concrete surfaces. It’s always a good idea to seek specialised help as they will have access to professional-grade tools and materials and can ensure that the job is completed to your satisfaction. For a perfect-looking finish, having the correct tool and experience is a must.

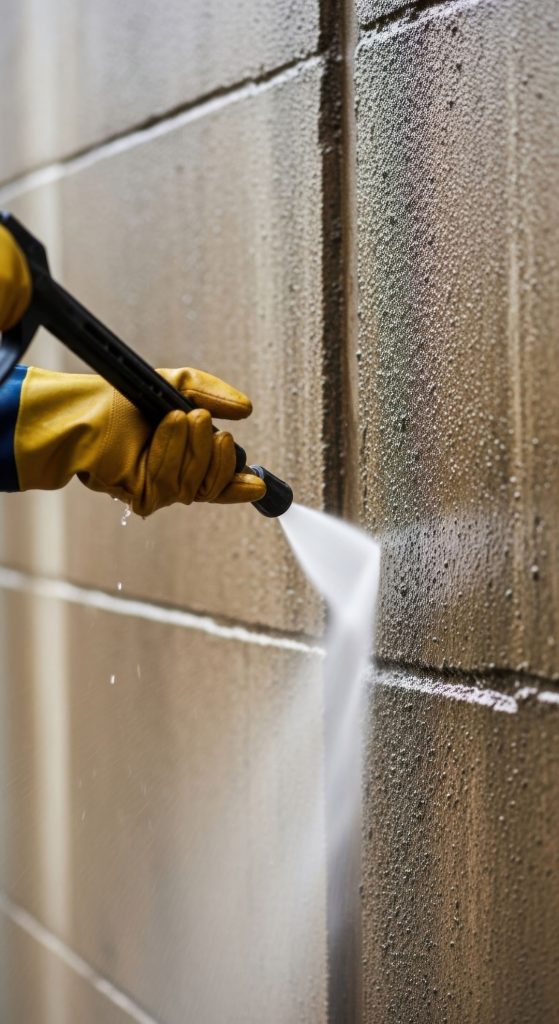
3. Do a proper cleaning:
Before you can begin painting your concrete retaining wall, it’s important to ensure that the surface is clean and free from any dirt, dust, or debris. Thorough cleaning of your wall will help the paint adhere better and last longer. But how do you go about cleaning your retaining wall? One of the easiest and most effective ways to clean a concrete wall is to use a pressure washer or a hose with a high-pressure nozzle. This will blast off any dirt or grime and leave your wall looking clean and fresh. If you don’t have access to a pressure washer, you can also use a stiff-bristled brush and a solution of water and detergent to scrub the wall clean.
However, if your wall has any mould or mildew, you’ll need to take some additional steps to get it clean. A solution of bleach and water can be an effective way to kill these, but you need to be careful regarding the instructions. A skilled painting service can help you here by cleaning the surface without the hassle of finding the right technic.
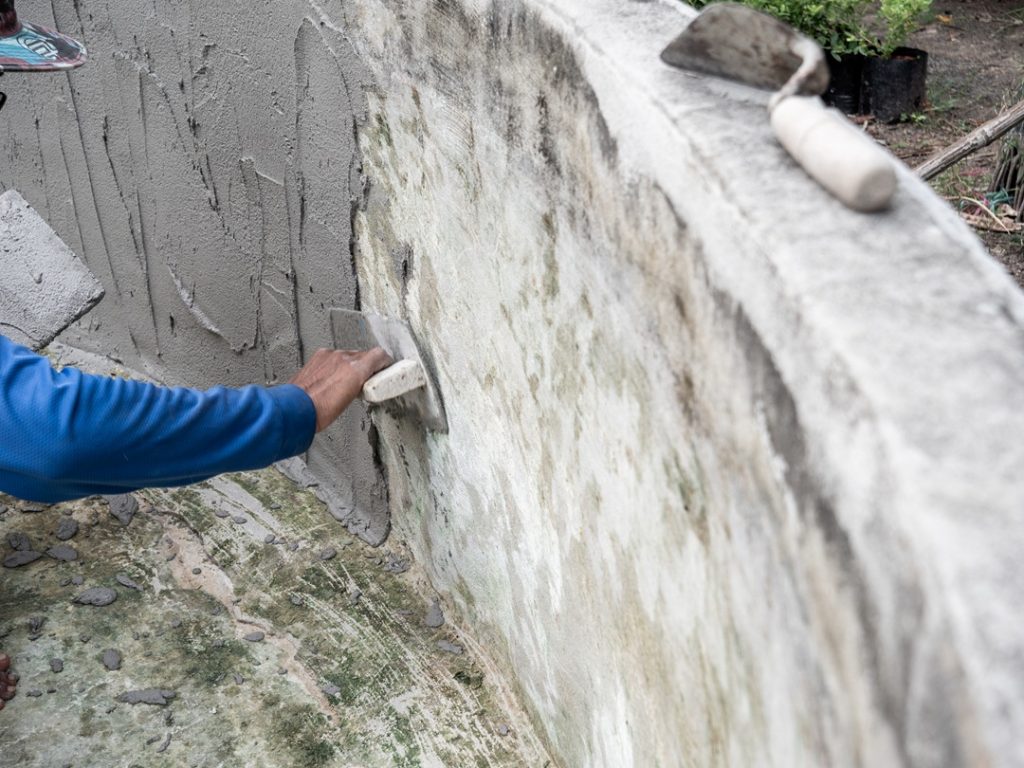
4. Prime the wall:
After cleaning and repairing any damage to the concrete retaining wall, the next step is to prime the surface before painting. Priming is an essential step as it prepares the surface for painting, ensuring that the paint adheres well and provides maximum coverage. To prime the wall:
- Start by choosing a high-quality concrete primer that’s suitable for your specific type of wall and the type of paint you plan to use.
- The primer should be specifically formulated for concrete surfaces and provide a good level of adhesion and durability.
- Use a paint roller or brush to apply the primer to the surface of the wall.
- Work in small sections, ensuring that the primer is applied evenly and covers the entire surface.
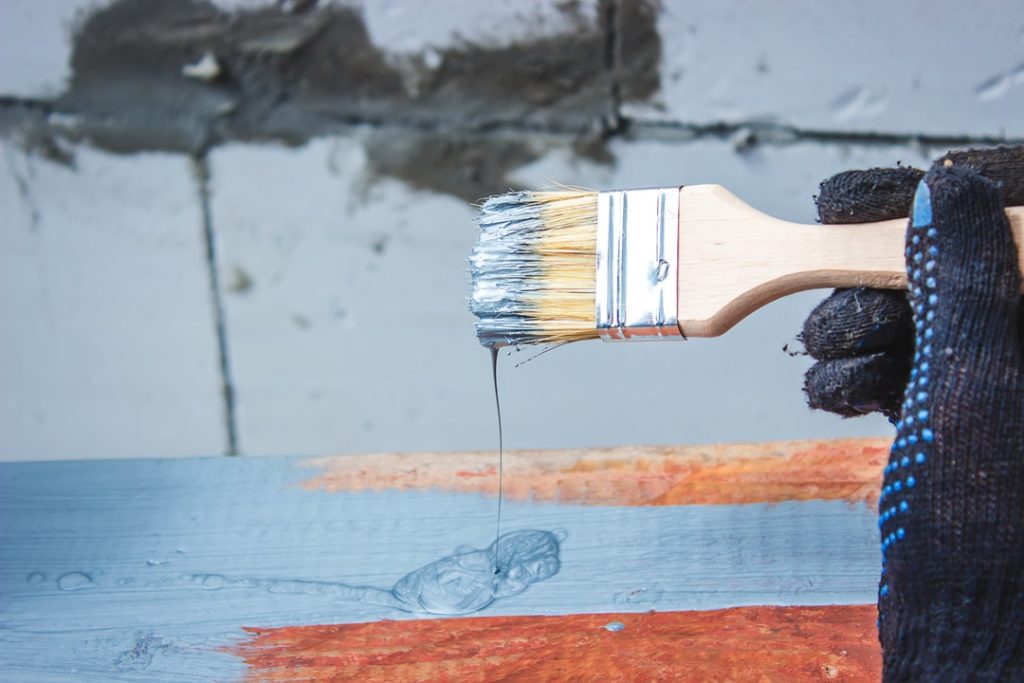
5. Proceed to paint:
After the primer has dried, it’s time to paint the wall. Choose a high-quality masonry or concrete paint that’s designed for exterior use, and apply it in small sections, working from the top of the wall down. Here, a Dulux-accredited painter can help you choose the right paint for the right surface because we often do not have the same knowledge as them. To reach distant spots on the retaining wall, it’s recommended to use extension handles and step ladders. This will allow you to access areas that are difficult to reach without compromising your safety.
If you’re working on a larger retaining wall surface, a paint sprayer can be a more efficient option for covering more areas in less time. So, use a paint sprayer or roller to apply the paint, depending on your preference, and apply multiple coats if necessary to achieve the desired finish. Once the paint has dried, finish with a sealer to protect the wall from moisture and UV damage.
Benefits of Painting Concrete
- Moisture Resistance: A properly painted and sealed concrete surface prevents water absorption, reducing the risk of cracks, efflorescence, and mold growth.
- Improved Durability: High-quality masonry or epoxy concrete paint adds a protective layer, shielding against foot traffic, stains, and environmental damage. This protection helps prevent concrete spalling.
- Temperature Regulation: Light-colored concrete paint can reflect heat, keeping outdoor surfaces cooler in the summer, which is excellent for patios and pool decks.
- Dust Control: Bare concrete floors are porous and can generate fine dust, but a layer of paint seals the surface, making cleaning easier and contributing to better indoor air quality.
- Enhanced Safety & Chemical Resistance: Specialised concrete coatings can be formulated with anti-slip additives (or sand) to create a non-slip surface, significantly improving safety on wet areas like steps, pool decks, or garage floors. Furthermore, epoxy paint provides superior resistance to harsh chemicals, oils, and automotive fluids, making clean-up easier and protecting the concrete structure from degradation in high-traffic or industrial areas.
Common Concrete Painting Mistakes to Avoid

Even with careful preparation, mistakes in painting concrete can lead to poor results. Here’s what to avoid, ensuring your concrete surface painting project is a success:
- Skipping the Primer: Concrete is inherently porous, so applying paint without a concrete primer can lead to poor adhesion, premature peeling, and reduced durability over time. Always use a quality primer formulated for masonry surfaces to ensure a strong bond (optimal for long-lasting concrete paint).
- Not Checking for Moisture: Painting over damp concrete will inevitably cause bubbling, flaking, or delamination. Always check for trapped moisture using a plastic sheet test or a moisture meter before starting to guarantee a reliable, professional-grade finish.
- Using the Wrong Paint: Not all paints are designed for concrete. Use masonry paint or specialised epoxy-based paint for maximum durability, especially in high-traffic areas like garage floors or exterior walkways. Choosing the correct exterior concrete paint is vital for weather resistance.
- Applying Thick Coats: Thick layers take much longer to dry and are highly prone to cracking, wrinkling, and uneven curing. Always apply multiple thin coats for a smooth, professional, and long-lasting finish (best practice for concrete coating).
- Ignoring Surface Etching: Failing to etch the concrete (or properly prepare a smooth surface) prevents the paint from keying into the pores. This step, or using an aggressive primer, is crucial for maximum paint adherence.
Conclusion
Painting a concrete retaining wall is a project that can add both beauty and protection to your outdoor space. It requires careful planning, the right tools, and quality materials to achieve the desired result. It is true that by following these tips and using the right tools and materials, you can achieve a long-lasting painted concrete retaining wall, but If you’re uncertain about the process or lack the essential tools, it’s best to seek the help of a trained painting contractor.
Painting Concrete – FAQ
Is it possible to paint directly onto concrete?
You can paint right on the concrete as long as it is clean, fixed, and ready to go. This works for both indoor and outdoor concrete surfaces, like garage floors and patios, as well as kitchen counters and floors. But you need to make sure that the concrete is completely dry and free of efflorescence, moisture, or any sealers that might keep the concrete paint from sticking to the surface. Using primer is essential for achieving better adhesion and ensuring a longer lifespan.
What is the drying time of concrete paint?
The majority of concrete floor paints will take 12 to 24 hours to completely dry to the touch, depending on the type of paint you use (such as acrylic vs. epoxy). Avoid walking on the painted surface until it has completely dried, and always pay close attention to the manufacturer’s instructions. We advise letting the paint cure for at least 72 hours, or as directed by the product label, if you intend to drive on your painted concrete (such as a do-it-yourself garage floor coating).
How do you make paint stick to concrete?
Concrete paint won’t stick well if it’s not applied to a surface that has been properly prepared. To make sure the bond is strong, you need to either acid etch the surface or grind it down with a machine. You could also use a high-quality concrete primer. You need to use an epoxy primer on places that will get a lot of wear and tear. It lasts longer and forms a permanent bond with the substrate, making it the best choice for results that last.
So, find the right painter, like Priority One Coatings, which provides painting services in Sydney and ensures the job is done correctly, saving you time and effort.