Choosing the right painter’s tape can make a significant difference in the quality of your painting outcome. Painter’s tape might seem like a minor detail, but its impact on the outcome of your painting project is substantial. It helps achieve clean lines, prevents paint from bleeding under the edges, and even protects areas you don’t want to paint. Whether you’re tackling a DIY home renovation or a professional job, the right tape ensures clean edges, saving you time and effort in touch-ups. In this article, we’ll explore how to select the perfect painter’s tape in the near future.
How Does Painter’s Tape Work?
Painter’s tape works by creating a barrier between the surface and the paint. When applied correctly, it prevents paint from seeping underneath, ensuring sharp, clean lines. The tape’s adhesive is engineered to hold securely yet peel away easily, making it a practical choice for various painting tasks. Finally, it helps to achieve a professional-looking finish.
Types of Painter’s Tape
Painter’s tape comes in various types, each designed for different surfaces and purposes. Understanding the differences will help you make an informed decision, from general-purpose options to specialised tapes for delicate surfaces.
1. General-Purpose Tape
General-purpose painter’s tape is suitable for most indoor painting projects. It provides good adhesion and clean removal, making it versatile for walls, ceilings, and trim. However, it may not be ideal for all surfaces, especially delicate ones.
2. Delicate Surface Tape
Delicate surface tape is designed for more sensitive surfaces, like freshly painted walls, wallpaper, or glass. It has a gentler adhesive that minimises the risk of peeling paint or damaging the surface underneath.
3. High-Performance Tape
High-performance tape offers superior adhesion and durability, making it suitable for exterior painting or challenging surfaces. It resists moisture and UV rays and can hold up under demanding conditions.
4. Specialty Tape
Specialty tapes are designed for specific applications, such as creating intricate designs or patterns. To achieve detailed results, they can include features like pre-spaced lines or unique textures.
Factors for Choosing the Right Painter’s Tape
Before choosing the right tape, there are some factors to look for. We have listed the factors here to help you out.
Consider the Surface
The surface you’re working on will dictate the type of tape you need. For example, delicate surfaces require tape with a gentler adhesive, while rough or textured surfaces may need a tape with stronger adhesion.
Evaluate the Tape’s Adhesion
Different types of tapes have varying levels of adhesion. Consider how long you plan to leave the tape on and the type of paint you’re using. High-adhesion tapes are best for long-term projects or challenging conditions.
Assess the Tape’s Removal Properties
Ensure the tape you choose removes cleanly without leaving residue or damaging the surface. This feature is crucial for maintaining the integrity of your paint job and avoiding additional clean-up.
Features to Look For
There are some comprehensive features that ensure you have chosen the perfect tape for your painting project. They are:
a. Adhesion Strength
The adhesion strength of painter’s tape affects how well it sticks to surfaces and how cleanly it comes off. Choose a tape with the right balance of adhesion for your project.
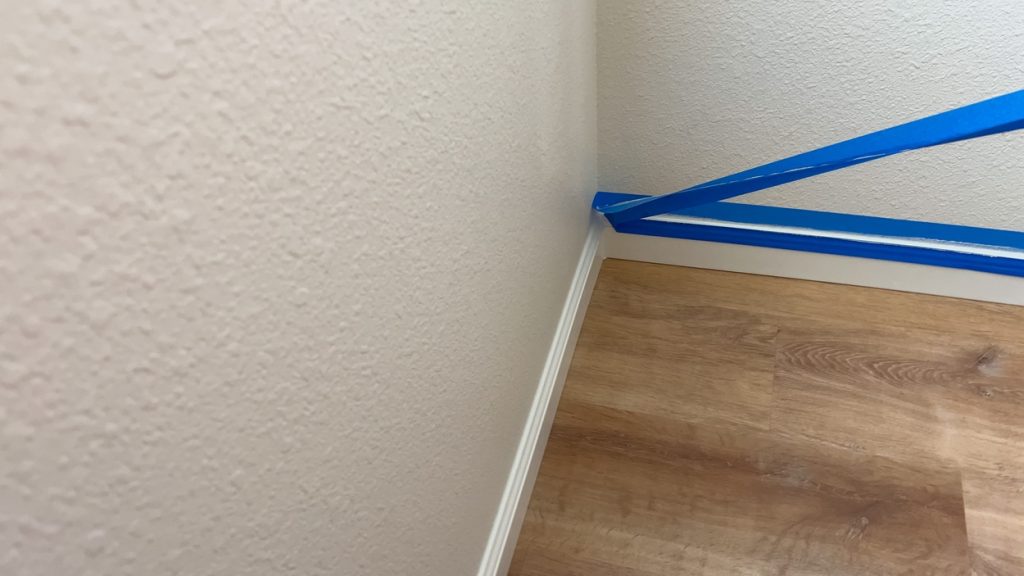
b. Edge Sharpness
Sharp, well-defined edges are essential for achieving clean lines. Look for tapes with precise edge control to avoid paint bleeding and ensure professional results.
c. Durability
Consider the tape’s durability, especially for long-term projects or outdoor use. A durable tape will withstand various conditions without losing its effectiveness.
d. Ease of Application
Easy-to-apply tape will save you time. Look for tape that smoothly peels off the roll and adheres easily to surfaces.
Applications of Different Types of Painter’s Tape
When you know which tape is right for your job, it’s time to learn about the applications. Proper application can make a huge difference in the final outcome.
Painting Walls and Ceilings
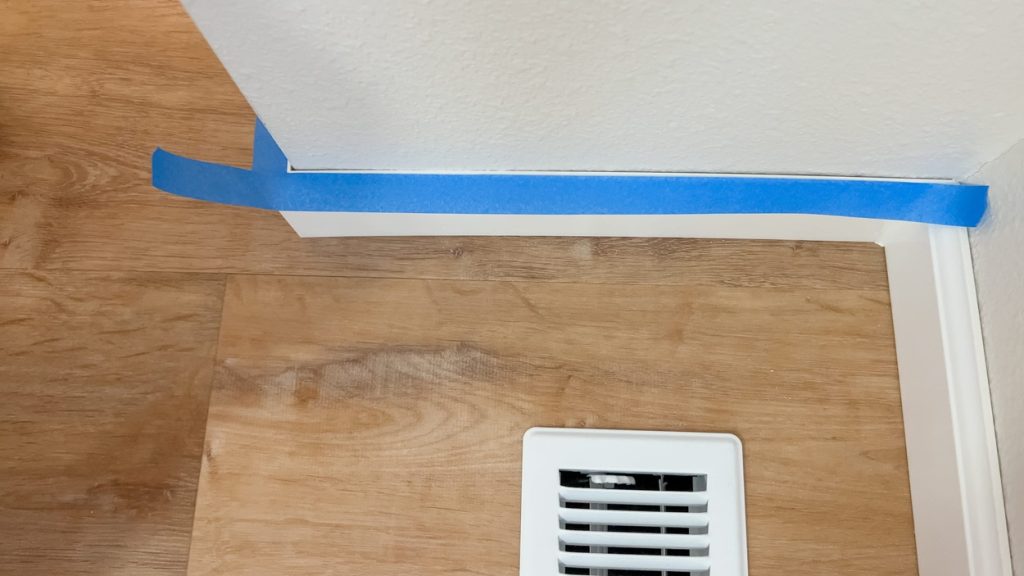
General-purpose tape is typically sufficient for walls and ceilings. It provides a clean barrier to keep paint from bleeding into adjacent areas.
Decorative Painting
For decorative projects, like creating stripes or geometric patterns, specialty tapes can offer the precision and flexibility needed to achieve intricate designs.
Masking Off Trim
When painting trim areas, use painter’s tape to protect these areas from accidental splashes. High-performance tape may be necessary for rough or textured surfaces.
Craft Projects
Painter’s tape isn’t limited to traditional painting projects. It’s also useful for craft projects, where it can be used to create patterns, protect surfaces, or mask off areas.
How to Apply Painter’s Tape
Following these steps, you can apply the tape correctly whether you want to paint the interior or exterior of your home.
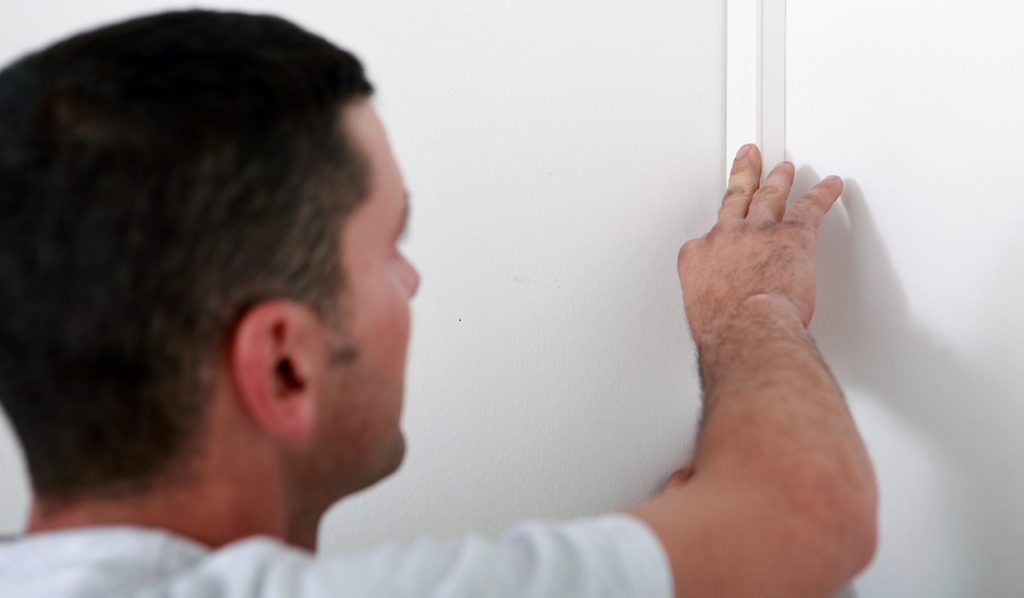
Step 1. Preparing the Surface
Before using the tape, ensure the surface is clean, dry, and free of dust or grease. A clean surface helps the tape adhere properly and ensures a crisp paint line.
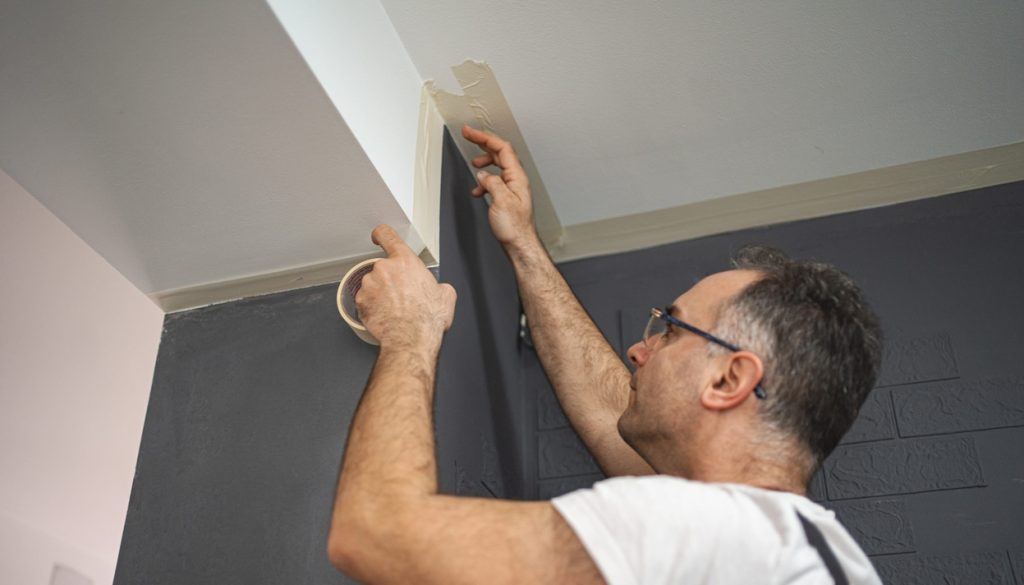
Step 2. Applying the Tape
Apply the tape carefully, pressing it down firmly along the edges. Use a putty knife or similar tool to press the tape down and ensure it adheres well for best results.
Step 3. Removing the Tape
Depending on the tape’s recommendations, remove the tape while the paint is still slightly wet or fully dried. To avoid smudging the paint, peel the tape back slowly and at a 45-degree angle.
Common Mistakes to Avoid
To ensure that the tape works properly, you should avoid some common mistakes. Here, you can learn about them and be aware of them.
Using the Wrong Tape for the Surface
Using tape that’s not suited for your surface can lead to poor results. Always choose a tape that matches the surface and paint type.
Applying Tape Over a Dirty Surface
Applying tape over a dirty or oily surface can prevent it from sticking properly and lead to paint bleeding. Always clean the surface before applying tape.
Removing Tape Too Soon
Removing tape too soon can result in smudged paint or uneven edges. Follow the manufacturer’s recommendations for the best removal timing.
Tips for Better Results
Better results always need extra care. These tips can help you to achieve the desired outcome from your painting project.
1. Ensure the Surface is Clean and Dry
A dry surface is essential for proper tape adhesion and crisp paint lines. Wipe down surfaces before applying tape.
2. Use a Putty Knife for Crisp Edges
Press the tape down with a putty knife or similar tool to achieve sharp, clean edges. This helps prevent paint from seeping underneath.
3. Test Tape on a Small Area First
Before committing to a large project, test the tape on a small, inconspicuous area to ensure it performs as expected.
Conclusion
Choosing the right painter’s tape is key to ensuring a successful painting project. You can achieve clean, professional results with minimal effort by understanding the different types of tape and their applications. Remember to consider the surface, adhesion strength, and removal properties when selecting your tape, and follow best practices for application and removal to get the most out of your painter’s tape.